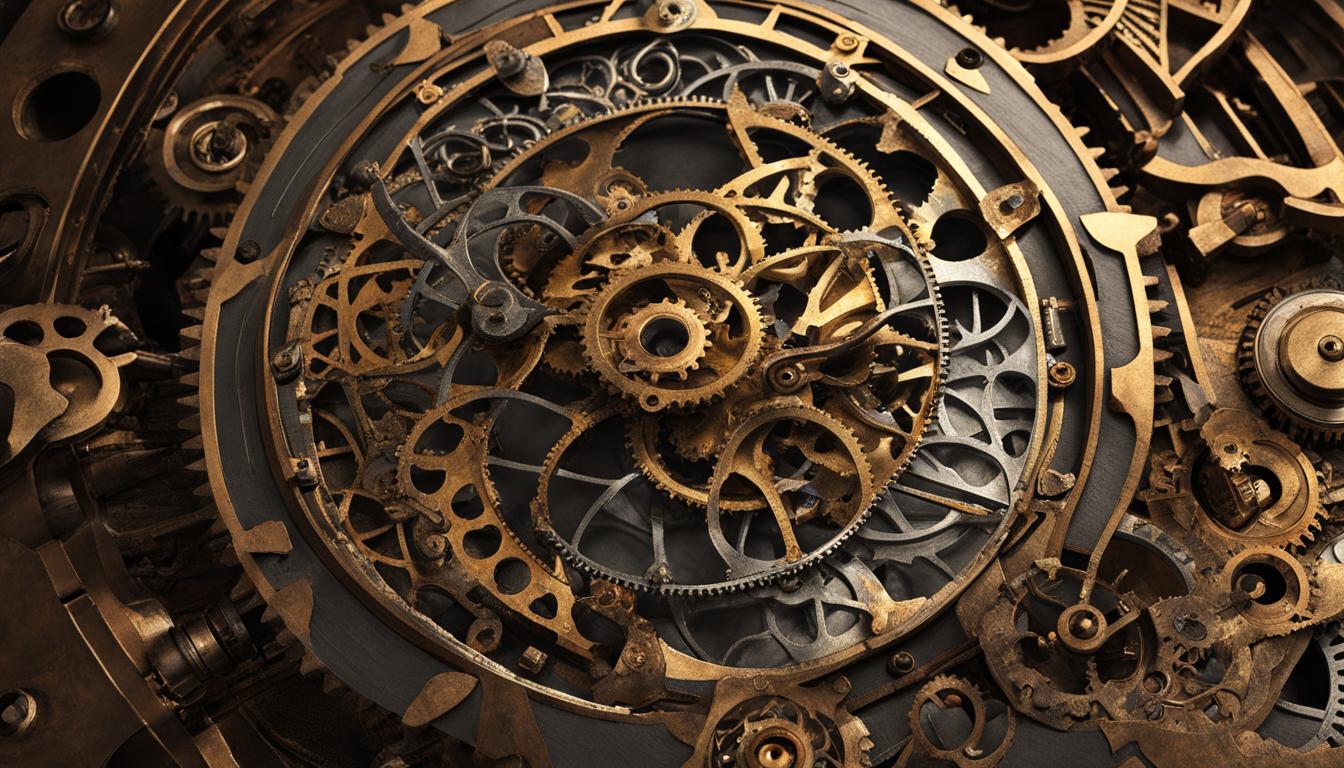
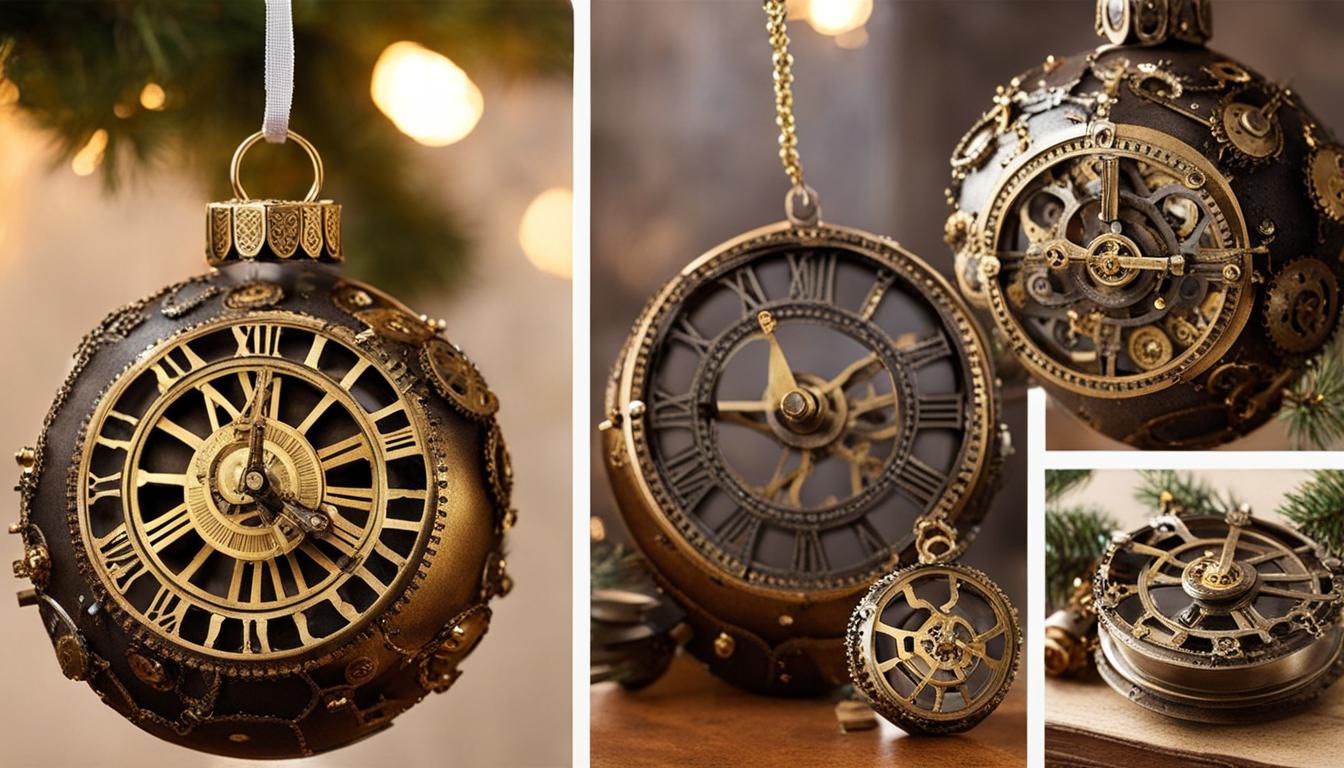
Adding motion to steampunk crafts can take your creations to a whole new level, bringing them to life with mesmerizing movement. Whether you’re a seasoned steampunk enthusiast or just starting out, this article will guide you through the process of incorporating moving parts into your designs. Get ready to add a touch of magic and intrigue to your steampunk projects!
Key Takeaways:
- Enhance the visual appeal of your steampunk crafts by adding moving parts.
- Gather the necessary materials and tools, including a base object and paint supplies.
- Prepare the base and make modifications to ensure smooth movement.
- Explore different painting techniques to add texture and dimension.
- Incorporate mechanisms like gears and motors to create kinetic elements.
Getting Started: Materials and Tools
Before diving into the world of steampunk projects with moving parts, it’s essential to have the right materials and tools on hand. These will help you bring your mechanical elements to life and engineer captivating movement in your steampunk crafts. Whether you’re a seasoned DIY enthusiast or just starting out, gathering the necessary supplies will ensure a smooth and enjoyable creative process.
To begin, consider using a squirt gun or another object as the base for your project. This will serve as the foundation for your moving steampunk creation. Additionally, you’ll need spray primer and sealer to prepare and protect the surface, acrylic paint and brushes for adding color and detail, screws and a screwdriver for assembly, and optional materials like metallic paint, fabric puff paint, and decorative gears and buttons for added flair.
Having these materials and tools at your disposal will make it easier to unleash your creativity and explore the possibilities of engineering movement in your steampunk crafts. So gather your supplies, roll up your sleeves, and get ready to embark on a journey of kinetic artistry.
Materials and Tools Checklist:
- Squirt gun or other base object
- Spray primer and sealer
- Acrylic paint
- Paintbrushes
- Screws and screwdriver
- Metallic paint (optional)
- Fabric puff paint (optional)
- Decorative gears and buttons (optional)
Preparing the Base and Making Modifications
Now that you have all your materials ready, it’s time to dive into the exciting process of preparing the base of your steampunk creation and making any necessary modifications. This step is crucial as it sets the foundation for adding the captivating movement to your piece. Begin by disassembling the base object using a screwdriver, carefully removing any unwanted parts that might hinder the smooth movement of your creation. Take your time to sand or cut off any imperfections, ensuring a seamless surface for your modifications.
As you prepare the base, don’t be afraid to get creative. Consider adding papier-mâché or paperclay to enhance the texture and visual interest of your steampunk creation. You can also incorporate random bits and pieces that align with the steampunk aesthetic, such as small gears or cogwheels, to add a touch of authenticity. Just remember to take care in masking off any parts you don’t want to get paint on, as this will ensure that your moving parts operate smoothly once everything is assembled.
By taking the time to properly prepare your base and make modifications, you’ll lay the groundwork for a truly mesmerizing and one-of-a-kind steampunk creation that seamlessly combines motion and aesthetics.
Painting Techniques and Finishing Touches
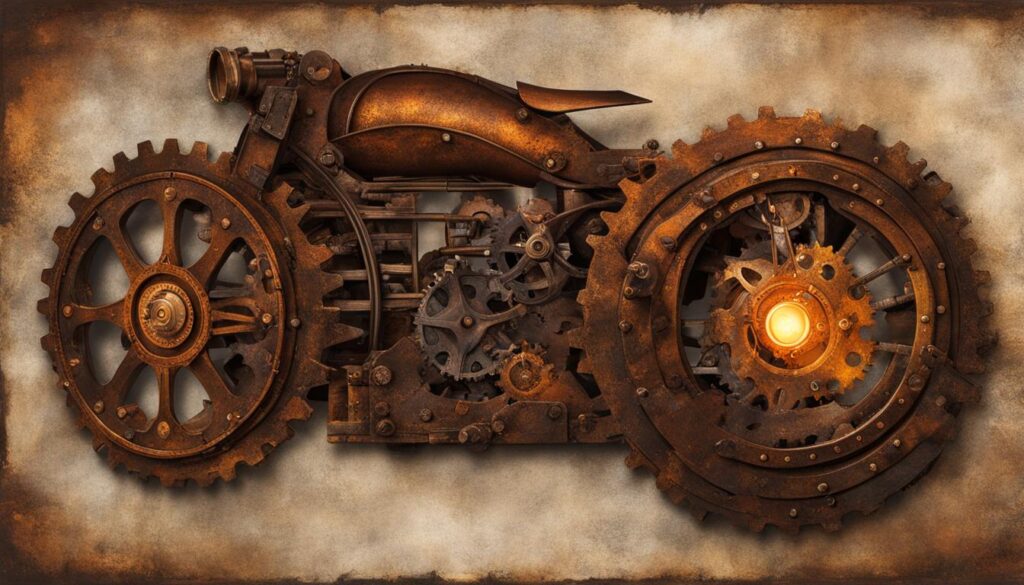
Painting is a crucial step in adding movement to your steampunk creation. Applying the right techniques and finishes can elevate your project to a whole new level of visual appeal. Start by covering any bright colored plastic surfaces with primer to create a matte surface that improves paint adhesion. Consider using spray paint for a smooth and even finish, or acrylic paint for more detailed brushwork. If you want to add a metallic touch, opt for metallic paint to achieve that authentic steampunk look.
“The right paint can bring your steampunk creation to life, capturing the allure of the Victorian era with its rich tones and weathered textures.”
Experiment with different painting techniques to create texture and depth. Dry brushing is a popular technique that involves lightly brushing a small amount of paint over a textured surface to highlight its raised areas. Another technique to try is the hairspray painting technique, where you spray a layer of hairspray over a painted surface and then apply a different color on top. When the top layer of paint dries, you can rub it off in certain areas to reveal the base color, creating a weathered and worn effect.
Once you’re satisfied with the paint job, it’s important to seal your steampunk creation to protect the paint and ensure its longevity. Use a spray sealer or Mod Podge to provide a protective coat that will guard against dust, moisture, and potential damage. This step will also enhance the overall finish, giving your creation a professional look and feel.
| Paint Type | Description |
|---|---|
| Spray Paint | Provides a smooth and even finish |
| Acrylic Paint | Great for detailed brushwork |
| Metallic Paint | Adds an authentic steampunk touch with a metallic sheen |
Table 4 showcases the different types of paint you can use for your steampunk creations and their respective descriptions. Each paint type offers unique qualities that can help you achieve the desired look and feel for your project.
Incorporating Mechanisms and Movement
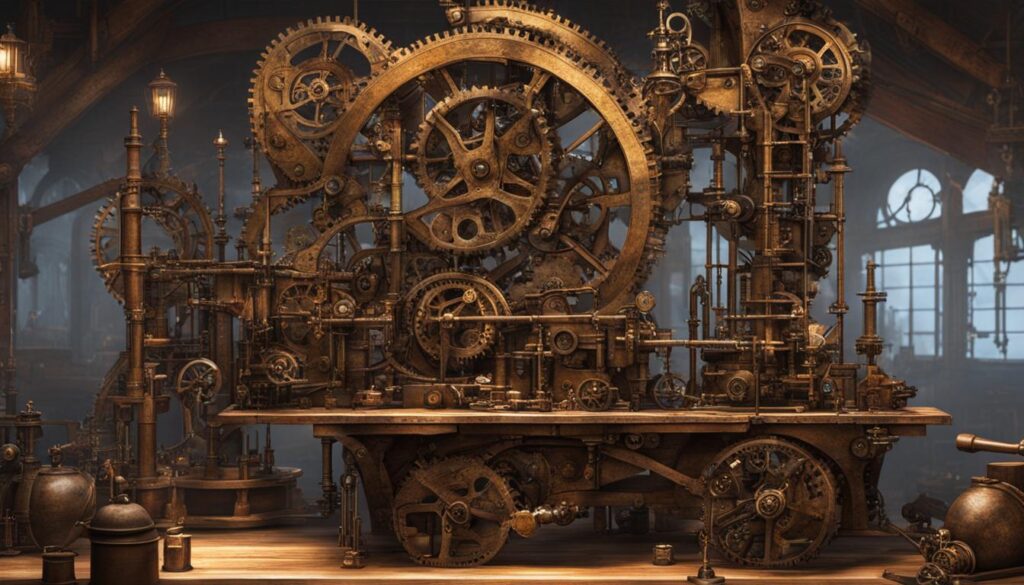
When it comes to adding movement to your steampunk creations, incorporating the right mechanisms is key. Building moving steampunk models requires a combination of careful planning and creative problem-solving. Whether you’re designing a kinetic sculpture or a functional device, understanding motion mechanics is essential to achieve the desired effect.
One way to introduce movement is by using gears. Gears can be incorporated into your design to transfer rotational motion and create mesmerizing kinetic elements. You can experiment with different sizes and arrangements to achieve the desired motion and visual appeal. Additionally, consider incorporating other elements such as propellers, wheels, or watch parts to add complexity and dynamism to your creations.
In order to achieve the desired movement, you’ll need to install motors that can power your steampunk models. Microwave turntable motors or 12-volt motors are popular choices for adding motion to steampunk creations. These motors can be connected to the gears or other moving parts to bring your design to life. To control and illuminate the moving parts, you can also incorporate switches, wire, and LEDs for an added layer of interactivity and visual interest.
By carefully considering motion mechanics and incorporating the right mechanisms, you can create captivating steampunk creations that delight and intrigue. Building moving steampunk models allows you to push the boundaries of your creativity and showcase the dynamic nature of the steampunk aesthetic.
Adding Steampunk Elements and Details
Creating moving steampunk pieces is all about the intricate details and unique embellishments. To truly capture the essence of steampunk, incorporate various elements and materials that add depth and authenticity to your creation.
“Steampunk is a world of gears, cogs, and brass, where imagination meets Victorian aesthetics.”
One way to enhance your moving steampunk piece is by using brass candle holders, corners, and other brass elements. These can be repurposed from old objects or purchased from craft stores. The vintage look of brass adds an air of nostalgia and elegance to your design.
Another option is to incorporate sheet aluminum into your creation. This versatile material can be easily shaped and cut to create rotating wheels, arms, or other moving parts. Not only does it provide a visually striking contrast to the brass elements, but it also adds a touch of industrial charm.
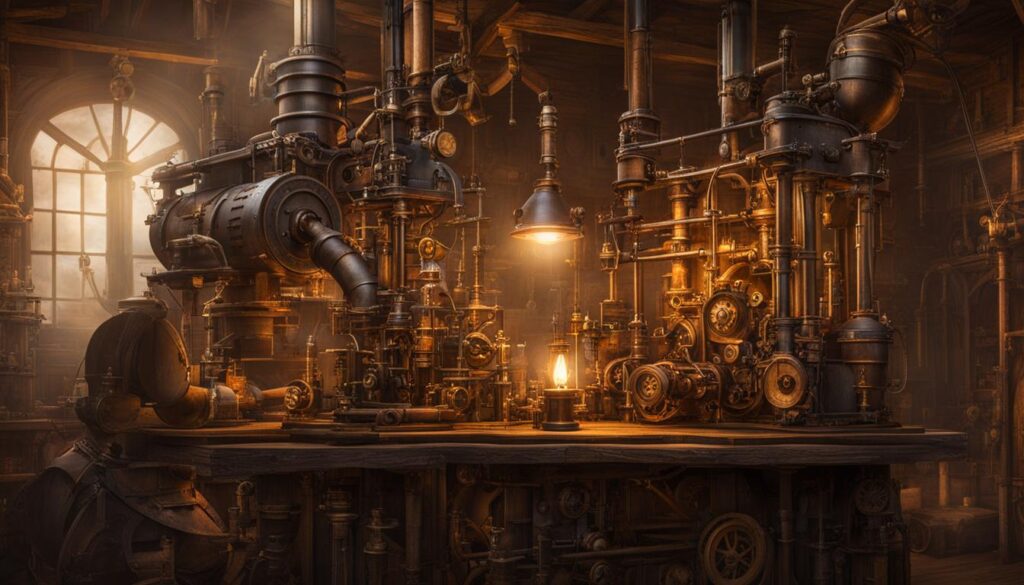
Table: Steampunk Elements and Details
| Elements | Description |
|---|---|
| Brass Candle Holders | Repurpose old candle holders or purchase decorative brass elements to add a vintage touch to your creation. |
| Sheet Aluminum | Shape and cut sheet aluminum to create rotating wheels, arms, or other moving parts for an industrial aesthetic. |
| Beads, Gears, and Clock Faces | Incorporate these steampunk-inspired elements found at craft stores to add intricate details and visual interest. |
| Fabrication Materials | Utilize materials like wire, buttons, and small screws to further enhance the mechanical look and feel of your creation. |
When adding steampunk elements and details, allow your imagination to run wild. Experiment with different materials and combinations until you find the perfect balance of aesthetics and functionality. Remember, in the world of steampunk, the devil is in the details.
Bringing it All Together
Now that you have completed all the individual steps in adding movement to your steampunk creation, it’s time to bring it all together. This is the moment when your hard work pays off as you see your dynamic and interactive piece come to life. Reassemble the base object, making sure that all the moving parts fit and function properly. Take the time to fine-tune the mechanisms and adjust any switches or wiring as necessary.
As you bring your creation together, take pride in the unique design and mesmerizing movement you have achieved. Whether it’s a kinetic sculpture, a functional device, or a decorative art piece, your steampunk creation is sure to impress. Cherish the satisfaction of seeing your imagination become a reality with the intricate details and authentic steampunk elements you have incorporated.
Remember, crafting kinetic steampunk art is meant to be an enjoyable and creative process. Don’t be afraid to experiment with different mechanisms, materials, and techniques. Let your imagination run wild as you push the boundaries of what is possible with steampunk creations. The end result will be a truly remarkable piece that showcases your skill, creativity, and passion for the steampunk aesthetic.
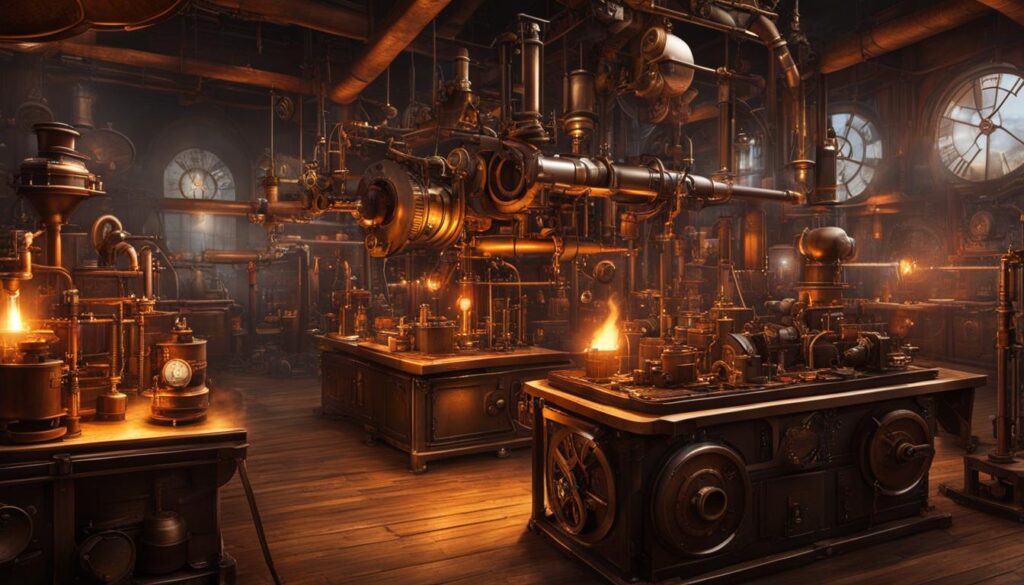
Table: Comparing Different Steampunk Creations with Moving Parts
| Steampunk Creation | Materials Used | Mechanisms Incorporated | Movement Type |
|---|---|---|---|
| Steampunk Pocket Watch | Brass, glass, chains | Gears, clockwork mechanism | Rotational movement |
| Steampunk Airship Model | Wood, metal, fabric | Propellers, gears | Vertical and horizontal movement |
| Steampunk Automaton | Metal, leather, gears | Camshafts, levers | Complex, multi-directional movement |
Table: Comparing different steampunk creations with moving parts.
Conclusion
Steampunk enthusiasts, rejoice! Adding moving parts to your steampunk creations not only elevates their visual appeal but also breathes life into your designs. By following the step-by-step instructions provided in this article, you can delve into the world of crafting kinetic steampunk art with dynamic components that mesmerize and captivate.
With the right materials and tools at your disposal, you can embark on a journey of creativity and innovation. From preparing the base and making modifications to incorporating mechanisms and movement, each step brings you closer to creating a one-of-a-kind masterpiece. Don’t be afraid to experiment with painting techniques and intricate steampunk elements, as they add that extra touch of authenticity and uniqueness.
Remember, the key to success lies in attention to detail and letting your imagination run wild. By incorporating switches, wires, and LEDs, you can control and illuminate the moving parts, giving your steampunk creation an interactive edge. Embrace the challenge, fine-tune the mechanisms, and bring your moving steampunk creation to life.
So go ahead, seize the opportunity to craft kinetic steampunk art that showcases your ingenuity and creativity. Let your designs mesmerize and captivate as the dynamic components come to life. Unleash your inner steampunk enthusiast and embark on a journey that brings wonder and awe to those who behold your moving masterpiece.
FAQ
What materials do I need to add moving parts to my steampunk creations?
You may need items such as a squirt gun or a base object, spray primer and sealer, acrylic paint, paintbrushes, screws and screwdriver, metallic paint, fabric puff paint, and decorative gears and buttons.
How do I prepare the base of my steampunk creation?
You can disassemble the base object using a screwdriver, remove unwanted parts, and sand or cut off any imperfections. Adding papier-mâché, paperclay, or random bits and pieces can add visual interest.
What painting techniques should I use?
Apply primer to cover bright colored plastic surfaces and consider using spray paint, acrylic paint, and metallic paint. Techniques like dry brushing and the hairspray painting technique can add texture and dimension. Seal your finished piece with spray sealer or Mod Podge to protect the paint.
How can I incorporate mechanisms and movement into my steampunk creation?
Explore using gears, propellers, wheels, or watch parts to create kinetic elements. Install motors such as microwave turntable motors or 12-volt motors for movement. Use switches, wire, and LEDs to control and illuminate the moving parts.
What steampunk elements can I add to enhance the look of my creation?
Use brass candle holders, corners, and other brass elements. Incorporate sheet aluminum for rotating wheels or arms. Add beads, gears, clock faces, or other steampunk-inspired elements found at craft stores.
How do I bring all the moving parts together in my steampunk creation?
Reassemble the base object, ensuring all the moving parts fit and function properly. Fine-tune the mechanisms and movement, adjusting switches or wiring as necessary.
How can I create unique and visually stunning moving steampunk pieces?
By following the steps mentioned in this article and experimenting with different techniques, you can craft one-of-a-kind steampunk creations with mesmerizing movement.
