In the realm of theater and cosplay, where imagination takes center stage, the allure of steampunk never fails to captivate. With its blend of Victorian aesthetics and futuristic technology, steampunk offers a world of endless possibilities. If you’re looking to enhance your performances or bring your favorite characters to life, crafting your own steampunk props is the key to unlocking a truly immersive experience.
But where do you begin? In this guide, we’ll take you through the step-by-step process of creating unique and eye-catching steampunk props for theater and cosplay. From design and materials to animation and finishing touches, we’ll unravel the secrets behind crafting DIY steampunk theater accessories that will leave your audience in awe.
Key Takeaways:
- Create a clear design for your steampunk props and gather the necessary materials.
- Design large flat gears and pipes mounted on plywood bases for a steampunk aesthetic.
- Enhance your props with ginormous gears created using foam cutting techniques.
- Add animation and finishing touches to bring your props to life on stage.
- Use painting and detailing techniques to add depth and character to your steampunk props.
Design and Materials
In order to create steampunk props for plays and theater, careful design and the right materials are key. The props often incorporate large flat gears and pipes mounted on sturdy plywood bases. These designs are not only visually appealing but also functional, allowing the props to work reliably within the limited time frame of a performance.
The design process begins by drawing the elements of the props, such as gears and pipes, and scanning them into graphics software for scaling and printing. This ensures that the proportions and details are accurate. Once the designs are ready, they can be printed on multiple sheets of paper and transferred onto plywood for cutting and assembly.
When it comes to materials, plywood bases provide a solid foundation for the props. Drainage pipes and PVC pipes are commonly used to create the look of industrial machinery, while foam insulation can be shaped and carved to resemble various components. Threaded rods, nuts and bolts, and other hardware are used to secure the different parts together and add authenticity to the steampunk aesthetic.
By combining careful design and the right materials, creating steampunk props for theater and cosplay becomes an exciting and rewarding creative endeavor. The props not only enhance the visual appeal of a performance but also help transport the audience into the fantastical world of steampunk.
Creating Ginormous Gears
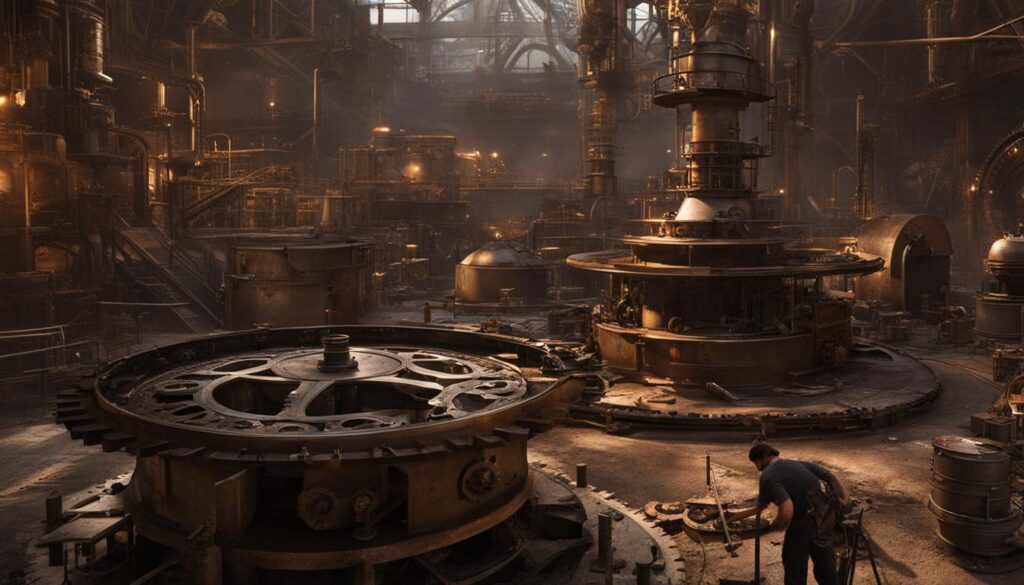
Steampunk props are known for their intricate and eye-catching gears, and creating ginormous gears can take your theater accessories to the next level. These oversized gears add a touch of grandeur and mechanical marvel to your steampunk stage props, making them a focal point of any performance. The process of creating these impressive gears can be achieved using foam cutting techniques and templates for consistent gear teeth.
The Foam Cutting Techniques
To create the ginormous gears, start by acquiring high-density foam sheets that can withstand the weight and movement required for your props. Use a digital template or hand-drawn design to outline the shape of the gear on the foam sheet. Cut along the lines using a hot wire foam cutter for precise and clean cuts. Repeat this process for multiple layers of foam, depending on the thickness you desire for your gear.
Assembling the Gears
Once you have cut out the foam layers, it’s time to assemble the gears. Place nylon spacers between each foam layer to act as axles for the gear’s rotation. Secure the layers together by attaching plywood circles to the top and bottom of the gear with screws or adhesive. This assembly method ensures that the gear remains stable and can withstand the rigors of performances.
Add Functionality and Aesthetic Appeal
For added functionality and visual interest, consider incorporating pulleys into certain gears. Attach the pulleys to the gear using screws and ensure they are aligned properly to ensure smooth movement. This can be particularly useful if you want to create prop movements that involve gears interlocking and rotating. Once the gears are assembled, cover them with fabric to protect the foam and create a cohesive steampunk aesthetic. Finally, paint the gears using acrylic paints to give them a weathered metallic appearance.
| Ginormous Gears Creation Process | Benefits |
|---|---|
| 1. Design the gear shape on foam sheets. | 1. Adds grandeur and mechanical marvel to your props. |
| 2. Cut the foam along the design using a hot wire foam cutter. | 2. Creates a focal point for performances. |
| 3. Repeat the cutting process for multiple foam layers. | 3. Enhances the overall steampunk aesthetic of the props. |
| 4. Assemble the layers using nylon spacers and plywood circles. | 4. Provides a stable structure for the gear’s rotation. |
| 5. Add pulleys for functionality and interlocking movements. | 5. Allows for prop movements involving gears. |
| 6. Cover the gears with fabric for protection. | 6. Creates a cohesive steampunk aesthetic. |
| 7. Paint the gears with acrylic paints for a weathered metallic appearance. | 7. Gives the gears a realistic and visually appealing texture. |
Animation and Finishing Touches
Creating steampunk props for theatrical performances and crafting cosplay props in a steampunk style requires careful attention to detail when it comes to animation and finishing touches. These elements can add a dynamic and visually stunning element to the props, enhancing the overall experience for both performers and audiences.
Adding Animation to Props
One exciting way to incorporate animation into steampunk props is by creating a sequence of movements that bring the props to life. For example, a painted basketball can be set on a ramp, which rolls down and falls into a net, triggering a flag to open. This type of animation requires meticulous planning, precise engineering, and careful tuning to ensure that the movements are smooth and synchronized with the performance.
“The animation process adds an extra layer of excitement and immersion to the theatrical experience.”
By incorporating animation into the props, the overall theatrical performance can be elevated to a new level, capturing the attention and imagination of the audience.
Finishing Touches for a Steampunk Aesthetic
Once the props and animations are complete, it’s time to add the finishing touches that will enhance the steampunk aesthetic. This can include painting the props with a weathered and metallic look using a combination of acrylic paints. The addition of decorative elements such as gauges, gears, and other intricate details can further enhance the overall appearance of the props.
These finishing touches not only make the props visually appealing but also help to bring the steampunk theme to life, creating a sense of authenticity and immersion for both theater performances and cosplay events.
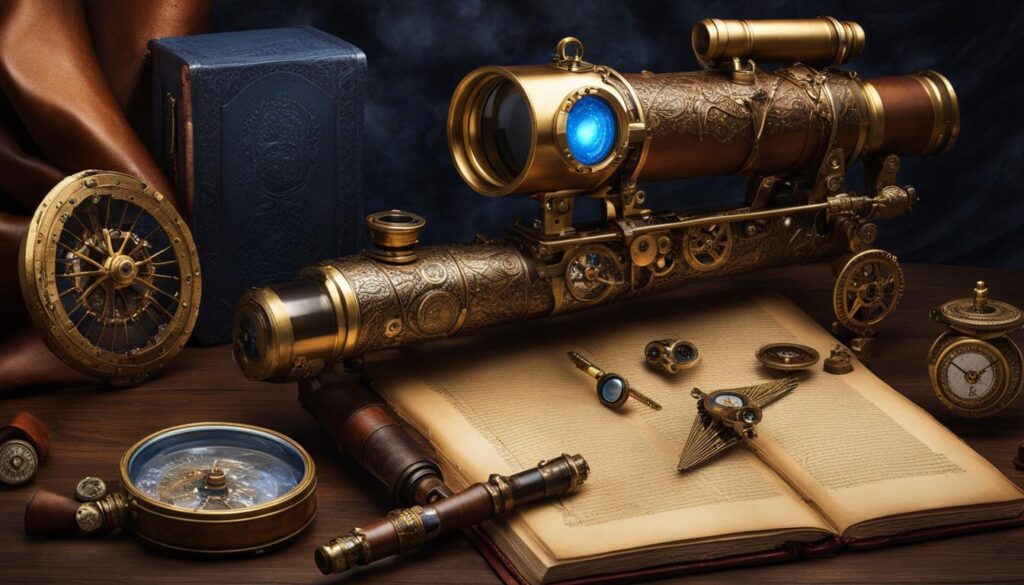
Table: Steampunk Props Animation and Finishing Touches
| Step | Description |
|---|---|
| 1 | Create a detailed storyboard or plan for the desired prop animations. |
| 2 | Build the necessary mechanisms and structures to facilitate the desired movements. |
| 3 | Tune the movements of the props to ensure smooth and synchronized operation. |
| 4 | Finish the props with a weathered and metallic look using acrylic paints. |
| 5 | Add decorative elements such as gauges, gears, and other intricate details to enhance the steampunk aesthetic. |
Painting and Detailing

The painting process is a crucial step in creating steampunk props for cosplay. It allows for customization and adds depth and character to the props. To achieve an authentic steampunk aesthetic, different painting techniques and materials can be used.
Creating Realistic Metal Texture
One technique to enhance the appearance of steampunk props is to create a realistic metal texture. This can be achieved by using a combination of dry brushing and layering different shades of paint. Dry brushing involves dipping a brush in paint, removing most of the paint on a paper towel, and lightly brushing it over the surface of the prop. This technique adds highlights and shadows, giving the illusion of metal.
“Using the dry brushing technique, I was able to create a weathered and aged metal look on my steampunk prop. It really brought the whole design to life!” – Steampunk enthusiast
Layering different shades of paint is another effective way to create a realistic metal texture. Start with a base coat in a dark metallic color, such as bronze or copper. Then, using a brush or sponge, apply lighter shades of metallic paint, focusing on raised areas and edges. This layering technique adds dimension and depth to the prop, further enhancing its steampunk aesthetic.
Detailing with Chrome and Gold
To add intricate details to the prop, chrome spray paint can be used for blade and handle decorations. The reflective quality of chrome creates a striking contrast against the darker metallic tones, adding visual interest. Additionally, bronze model paint and gold tempera paint can be used for other intricate details such as the handle and dragon design, giving the prop a luxurious and ornate appearance.
Summary
When painting and detailing steampunk props for cosplay, it is important to consider techniques that create a realistic metal texture and add intricate details. Dry brushing and layering different shades of paint can achieve a weathered and aged metal look. Chrome spray paint, bronze model paint, and gold tempera paint can be used for added visual interest. These techniques and materials allow for customization and enhance the overall steampunk aesthetic of the props.
Using Real Hair for Cosplay
When it comes to bringing your favorite steampunk characters to life, the right props can make all the difference. But what about the finishing touch that can truly elevate your cosplay to the next level? Enter using real hair for your steampunk costume.
For cosplayers who prefer a more authentic look and feel, using real hair can be a game-changer. This technique is especially popular among those with naturally dark hair, although it can also be done with dyed hair for a more customized look. By dyeing or bleaching the hair to match the desired color and styling it to replicate the character’s hairstyle, you can bring an unmatched level of realism to your steampunk ensemble.
Not only does using real hair for cosplay enhance the overall aesthetics of your costume, but it also offers a more comfortable experience. Say goodbye to uncomfortable wigs that can often be hot and itchy. With real hair, you can wear your costume with confidence and ease, fully immersing yourself in the steampunk world.
So, whether you’re attending a cosplay convention or participating in a steampunk-themed play, don’t underestimate the power of using real hair for your props. It’s the secret ingredient that can take your steampunk cosplay to new heights of authenticity and bring your favorite characters to life like never before.
FAQ
What materials are needed for crafting steampunk props for theater and cosplay?
The materials required include plywood bases, drainage pipes, PVC pipes, foam insulation, threaded rod, nuts and bolts, and various hardware.
How can the designs for the steampunk props be created?
The elements of the props can be drawn and scanned into graphics software for scaling and printing.
What techniques can be used to create large flat gears for the props?
Large flat gears can be created using foam cutting techniques and templates for consistent gear teeth.
Can the steampunk props be animated?
Yes, the props can be animated to add a dynamic element to theatrical performances.
What painting techniques can be used to enhance the appearance of the props?
Techniques such as dry brushing and layering different shades of paint can be used to create a realistic metal texture.
Can real hair be used for cosplay props?
Yes, using real hair can be a comfortable alternative for cosplayers, especially those with naturally dark hair.
